Build Your First Shelf: A Step-by-Step Project
A realistic first project that teaches joinery basics, finishing, and mounting. You'll build something useful and actually want to keep. Takes about eight hours over two weekends.
Why Start With a Shelf?
Most people's first project should teach real skills without overwhelming you. A simple shelf does exactly that. You're not building a dovetail box or a complex frame — you're learning how wood behaves, how joints work, and how to finish something properly.
The design I'm showing you isn't fancy. It's straightforward. But it's also something you'll actually use and display in your home. That matters. When you walk past your shelf six months later and it's still solid, still holding books, still looking decent — that's a real confidence boost.
What You'll Learn
- Cutting and preparing wood accurately
- Pocket hole joinery (the beginner's best friend)
- Sanding and finishing properly
- Wall mounting and getting it level
What You'll Need
Here's the thing — you probably don't need to buy much. If you've got basic hand tools already, you're most of the way there.
Wood
One 1.2m length of 25mm x 200mm pine or oak board. Ask the timber yard to cut it into: two 900mm lengths for the sides, one 800mm length for the shelf. They'll do this for free or a few quid.
Hardware
A pocket hole jig (Kreg Jig is the standard — about £40), pocket hole screws (32mm), and wall brackets or heavy-duty wall anchors depending on your wall type.
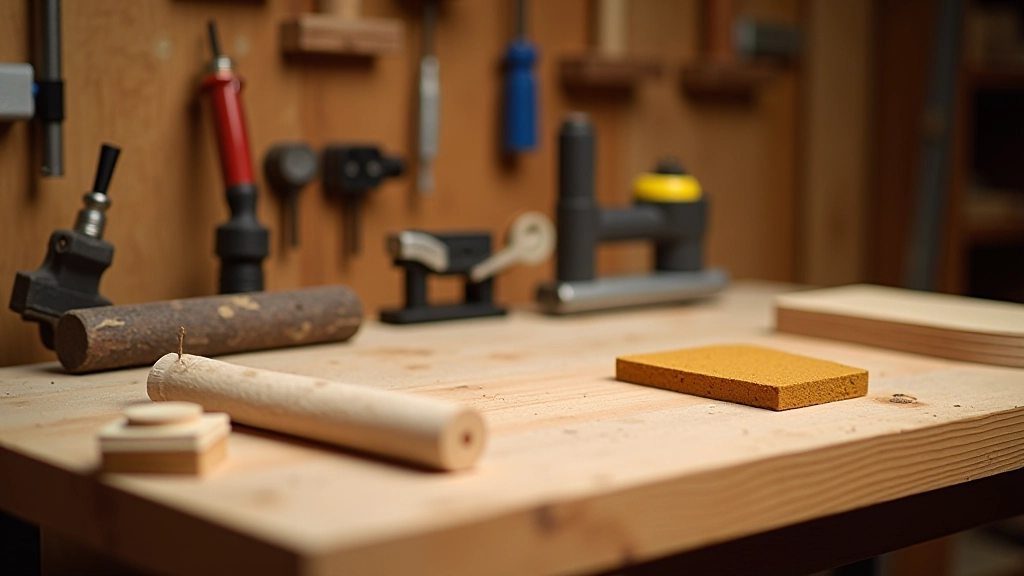
Tools You'll Use
Drill, circular saw or hand saw, chisel, sanding block, pencil, tape measure, spirit level, screwdriver. You've probably got most of these.

The Build: Step by Step
Cut and Prepare Your Wood
Your timber yard should've already cut everything, but you need to check each piece. It should be square at the ends. If it isn't, mark a line and cut it straight with a saw — a hand saw works fine, though a circular saw is faster.
Sand all the pieces with 120-grit sandpaper, then 180-grit. You're not trying to make them mirror-smooth at this stage — you're just removing splinters and rough edges. Takes about 30 minutes for all pieces.
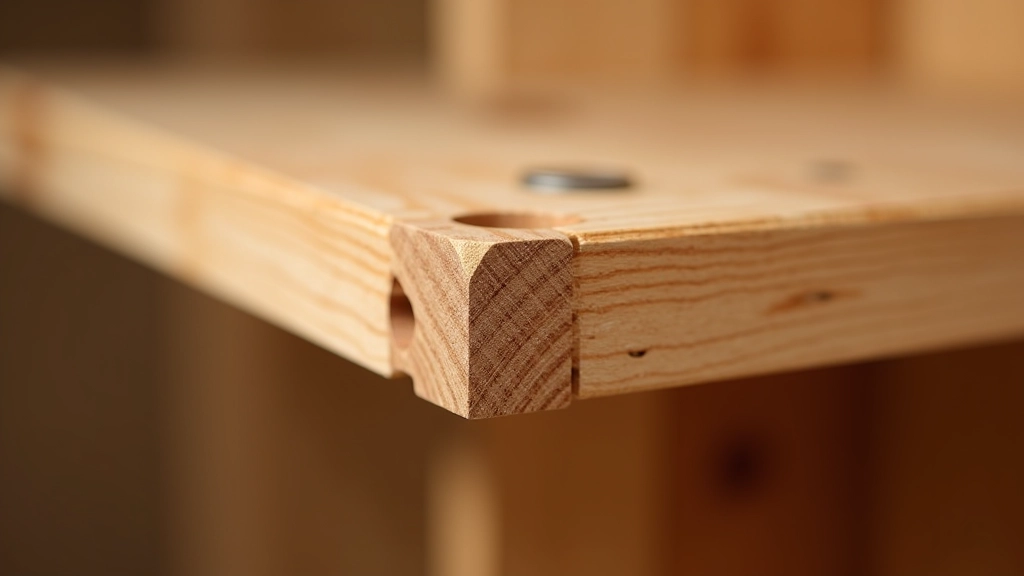
Drill Pocket Holes
The pocket hole jig is going to be your new best friend. You're creating two pocket holes in each side piece where it'll connect to the shelf. Don't overthink this — the jig guides you. Drill two holes per side (four total). The jig comes with instructions and they're honestly clear enough.
Pro tip: Clamp your wood to the bench when drilling. Loose wood tends to shift and then your holes aren't where you wanted them.
Assemble the Frame
This is where it comes together. You're driving pocket hole screws through the sides into the shelf. Two screws per side means four screws total holding the whole thing. Use a power drill with a screwdriver bit — manual screwdrivers work but you'll get tired.
Don't go mad tightening. Hand-tight plus a quarter turn is enough. Overtightening can strip the screw holes and you'll end up with a wobbly shelf.
Final Sanding and Finishing
Sand everything again with 220-grit paper. This removes any roughness from the assembly. Then decide how you want to finish it. Oil, stain, paint — whatever matches your room. One coat of finish is fine for a beginner project. Just make sure you've let the wood dry properly between applications.
Let it cure for at least 24 hours before hanging it on the wall. Some finishes take longer — check the tin.
Mount It Properly
This is the bit where precision matters. Find the studs in your wall using a stud finder — they're cheap and they work. If you can hit studs, use proper wood screws. If not, heavy-duty wall anchors rated for at least 20kg each will hold your shelf fine.
Get the shelf level before you tighten the final screws. A spirit level isn't expensive and makes this bit actually easy. It usually takes 30 minutes including finding studs and checking everything twice.
Real Tips From Actually Building This
You'll run into small problems. Everyone does. Here's what usually trips people up and how to handle it.
Wood Movement
Pine moves more than oak as humidity changes. Don't panic if a tiny gap appears in summer or winter. It's normal. That's why pocket holes work so well here — they allow for slight movement without affecting the whole shelf.
Getting It Level
Most walls aren't actually level. Your spirit level will tell you the truth. Don't fight it — just get the shelf as level as possible. A shelf that's slightly out isn't the end of the world. A shelf that falls off the wall is.
Finishing Options
If you're new to this, stick with oil. It's forgiving, looks good, and you can touch it up later. Paint hides imperfections brilliantly. Stain requires more practice to avoid blotchy results.
The Full Timeline
Here's roughly how long everything takes if you're doing this as a beginner without rushing.
Cut wood, sand all pieces, organize your workspace
Drill pocket holes, assemble the frame, check it's square
Final sanding, apply finish (first coat)
Second coat of finish if needed, let it cure
Find studs, mount the shelf, arrange your books
When Things Don't Go Perfectly
Pocket Holes Are Off
If your holes don't line up exactly, don't worry. You can usually still fit the screws in. The frame won't be perfect but it'll be fine. If they're really misaligned, you can fill the hole with a wooden dowel and redrilling it. Sounds complicated but it's a 10-minute fix.
The Shelf Isn't Level
Shims are thin wooden wedges. Stick them behind the brackets before tightening. Sounds hacky but it's the professional solution. Your shelf will look level and it'll hold properly.
Finish Looks Blotchy
Usually means the wood wasn't sanded evenly or the finish was too thick. Sand it back with 220-grit, wipe off the dust, and apply a thinner coat. It'll look better next time.

Disclaimer: This guide is for educational purposes and provides general woodworking guidance. Individual circumstances, tools, and materials vary. Always follow safety guidelines when working with power tools and woodworking equipment. Wear appropriate safety gear. If you're uncertain about any step, consult with experienced woodworkers at a local Men's Shed or community workshop. The author and site accept no responsibility for injuries, damage, or results from following this guide. Structural load limits depend on your wall type and fastening method — always verify proper installation before loading the shelf.
You've Got This
That's genuinely it. Eight hours of actual work spread over two weekends, and you've built something real. Something you'll see every day. Something that works.
The first shelf is always a bit rough around the edges. Doesn't matter. What matters is you've proven to yourself you can do this. Next project, you'll know what you're doing. You'll work faster. You'll solve problems because you've seen them before.
And if you're stuck on something, head to your local Men's Shed. Honestly. They've seen every problem this project throws at beginners. An hour with experienced woodworkers beats a day of guessing.